

Carpet removal may seem like a huge task that should be left to the professionals, but what if you could use your own strength to do it and not even raise a sweat? And without a lot of complicated equipment and processes, imagine how you can turn your space inside out, tearing up that old, battered carpet and showing the fresh, fresh beneath. Your carpet is dirty, it is worn or it is simply old. By removing carpets yourself you will not only end up spending hundreds less but you will also have the satisfaction of getting a successful DIY project. You will find out the inside secrets and tricks of tearing up carpet like a professional, even when it is your first time in this field, in this guide.
Besides, we will ensure that you avoid making common mistakes, manage difficult areas such as stairs, and recycle your old carpet in an environmentally-friendly manner. Are you willing to put on your shirt sleeves and clean your floors? It is time to begin with you on removing your carpets!
Tools and Materials Needed for Carpet Removal
Basic Tools for DIY Carpet Removal
- Utility knife/cutter of carpet.
- Pliers
- Pry bar or flat head screwdriver.
- Hammer
- Gloves (to protect your hands)
- Sturdily built garbage bags or carpet garbage bags.
- Dust mask ( particularly where the carpet is either old or dusty)
Safety Gear to Wear While Removing Carpet
- Safety Equipment to be put on when removing carpet
- Cutting and scraping prevention work gloves
- Protective eyewear against the effects of debris
- Knee Pads to make knees comfortable when working
- Work shoes or closed-toe shoes
How to Prepare for Carpet Removal
Clear the Area and Furniture
- Take out all the furniture and objects in the room.
- Removal of curtains or window decorations in case they are ruined.
- Dust the carpet by vacuuming the carpet floor.
Inspect the Carpet and Subfloor
- Look under the carpet and examine possible destruction, mold or pests.
- Record any sticking up nails or staples.
- Search terms are to be stuck together which might require additional efforts.
Remove Baseboards and Door Trim
- Removal of baseboards can be done lightly with the help of a pry bar in order to have a clean edge.
- Door trim can be removed to make it easier to pull carpets around doorways.
Step-by-Step Guide: How to Rip Up Carpet
Step 1 – Start in a Corner
Begin to strip the carpet by finding a loose strand of the carpet, and that is usually near a wall or a door, where the end is free to move. You will need to begin picking the carpet edge with your hands or with some sort of pliers so that you can begin the process of picking the carpet off the floor. Work slowly and gradually, in order not to tear or damage the underlying layers. You will see that by dragging up the carpet, it will be uncovered and the padding under it that you will take away later. Should you be provided with glued-down carpet, you cut the glued places with a utility knife and then attempt to remove the carpet. This makes it easier and puts less emphasis.
Step 2 – Cut the Carpet Into Strips
After you have a piece of the carpet lifted up, you can use your utility knife and slice strips of the carpet about three feet wide. By chopping the carpet into strips this will tremendously reduce the burden of moving the carpet in and out of the room as well as rolling it. Always make sure you only cut in the carpet, not the one underneath, which might be an expenses of cutting. Controlled and deliberate cuts will ensure a safe working environment and make it easier to handle.

Step 3 – Roll Up and Remove the Carpet
Once you have sliced the carpet into strips that are easy to work with, roll each of the strips in one end tightly. The process is tightening the carpet in order to make it compact and easy to transport. Duct taping can be applied to fix the rolled carpet strips in case you do not want them to unravel on removal. After rolling and securing each piece, take it outside as soon as possible to make your working area clean and less prone to falling or destruction.
Step 4 – Remove Carpet Padding
The second step is to work on taking away the carpet padding. Padding can be stapled or glued to the subfloor, and thus, you should be careful when removing the padding. Your hands or pliers can be used to take out any staples and peel the padding very lightly. Similar to the carpet, cut the padding into strips so that it can be handled and rolled. By completely removing this layer, you are left with a clean surface to be used when installing your next flooring or any required repairs to subfloors.
Step 5 – Uninstall Carpet Tack Strips and Staples
The last thing that should be done is to take all the carpet tack strips and any staples that may still be stuck in the subfloor. This can be done using a pry bar and a hammer to remove the tack strips that surround the edges of the room carefully. These are sharp strips and they are meant to grab onto the carpet to remove them; hence, a person is not hurt and this is a smooth floor. After that, remove leftover staples in the subfloor with pliers. Removing these things opens the floor to the cleaning, repairing, or installing a new floor.
Removing Carpet from Stairs or Difficult Areas
Special Considerations for Carpet on Stairs
Removal of carpet on stairs necessitates a little more attention and skill because of the limited area of space and a variety of angles. You have to start with the top step and push the carpet downwards at a slow pace, step by step. Due to the narrowness and shape irregularities of the stairs, it is easier to cut the carpet into smaller strips along respective stair to make the movement of the carpet easier and manageable. Particularly watch out for staples and tack strips that may be sharp and dangerous. Wearing gloves and using the correct tools will assist in protecting your hands, which will make the process safer.
How to Handle Glued-Down Carpet
Carpets that are glued down are a bigger problem than loose carpet and that can be handled with the perspective. Start by scratching the carpet surface with a utility knife to tear the adhesive cover. In case of a stubborn glue, one can use a scraper tool to lift the carpet carefully or can use a solvent that has been specifically created to loosen carpet glues. You should take your time and work in small sections so as not to spoil the subfloor and you will find it easier to remove the carpet. The trick is not to rush, which may result in tears and more time spent cleaning.
Carpet Disposal and Cleanup
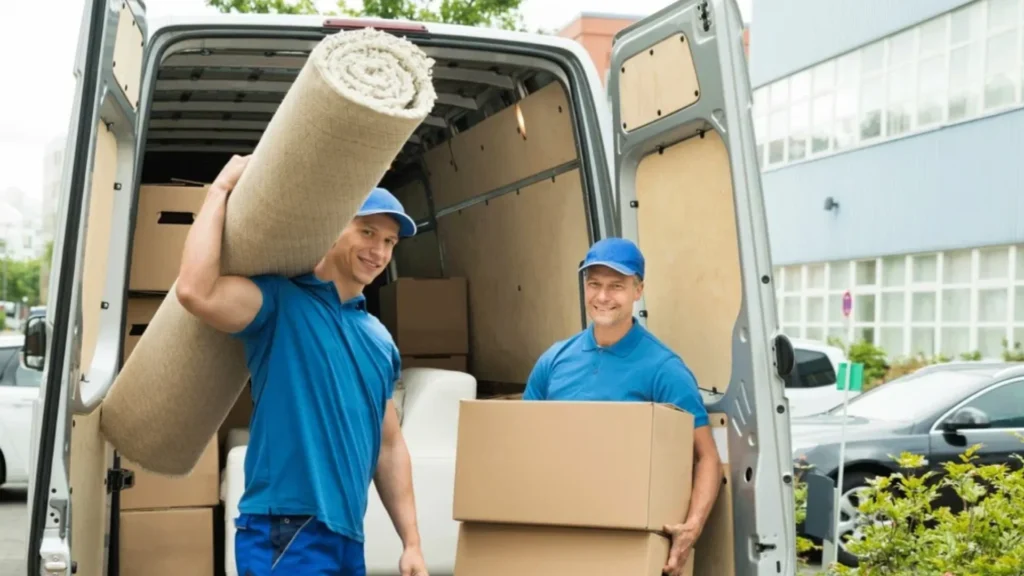
How to Properly Dispose of Old Carpet
The initial process in the right disposal of carpets is to be aware of your own local waste disposal policies, as they vary in various areas. Some have been transporting carpet to recycling centers, and others are forced to discard it due to some landfill procedures. In order to make the transportation process easier, roll up the carpet, place it in tight tapes or heavy-duty trash bags that are used to carry heavy items. In case your carpet is not worn out and you still have a long time using it, then you can donate it to local charities or organizations that accept flooring donations. This will not only conserve the wastage but will also help the needy.
Cleaning the Subfloor After Removal
After the carpet and padding are taken off, the subfloor needs to be cleaned up. Start by picking up all the dirt, debris and dust and after that, proceed with vacuuming to get at finer particles. Use this time to check the subfloor to see whether it has any damage, water stains or molds that can impact your new flooring. Repairs or prevention of molds will be beneficial so that these problems are resolved at an early stage and allowing you to install without issues and prolong the life of your new floor.
DIY vs Professional Carpet Removal
When to DIY Carpet Removal
The DIY carpet removal is a very good option when one has smaller rooms or medium-sized projects with the carpet not being glued. Prying that stuff out with a utility knife and pliers and a pry bar, and time and patience, you can do the removal yourself. Accepting the job will help save money and control the speed and progress of the project, which is why it is suitable to homeowners who are not afraid of working with their hands.
When to Hire a Pro for Carpet Removal
Professional hiring is recommended in bigger spaces or business premises, in where the work is more complex. If the carpet is nailed or fixed using heavy adhesives, then professional tools and experience will be useful in ensuring that the task becomes safer and efficient. Moreover, a pro can properly evaluate and manage the issue of the subfloor with a lot of repairs needed or the possibility of mold and damage, which will guarantee a smooth transition to the new flooring with the least amount of inconvenience.
Conclusion
Carpet removal may make your room look brand new, you can change the appearance of your floors without spending a lot of money on it, and no professional assistance is needed. These few tips and the correct equipment can ensure that you can easily tear up carpet and get ready to move your house into its next phase. Regardless of whether you will be doing the work yourself or you will require the services of an expert, appropriate removal and cleanup are the main reasons behind a successful flooring project.
In the case of getting rid of your old carpet and rubbish, you can rely on GO GO Junk Removal to offer quick and clean-up service that is so easy to use. You are ready to vacate your carpet and give place to new floors? Call GO GO Junk Removal and begin working on your home improvement project!
FAQ’s
Just bent over and picked the stuff up slowly and without using metal tools on the floor. Take off staples and tack strips in order to ensure that they do not damage the subfloor.
Yes, by proper planning and patience, beginners can remove carpet successfully.
Most jobs can be done using basic tools such as a utility knife, pliers and a pry bar. Glued carpets only require special tools.
Begin in a corner, cut up carpet in strips and pull steadily and roll strips tightly to get them removed faster.